WoodCutTool Learn
Cabinet Box Squareness Checks Before Cutting
Squareness is not created by matching two diagonal numbers at the end of assembly. It begins with rectangular parts, consistent reference edges, compatible joinery, a back that fits the intended geometry, and an assembly sequence that allows correction. Planning those checks before cutting is cheaper than trying to force a completed cabinet into shape.
Target keywords
Define the reference rectangle
Identify which parts establish cabinet width, height, and depth and which edges are the primary references. Confirm that repeated sides and decks are equal, opposite edges are parallel, and corner geometry matches the chosen joint. The square definition distinguishes the tool and condition, while the diagonal check explains one verification method.
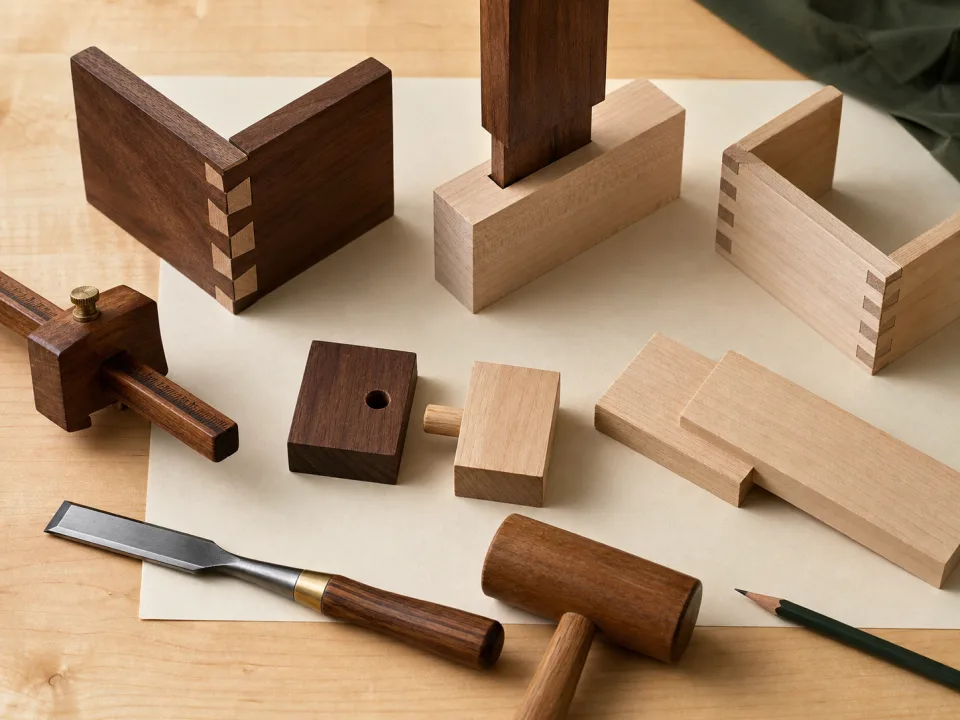
Plan joinery from one setup
Grooves, rabbets, dowels, or confirmat holes should reference the same face and edge on paired parts. Mirrored parts require deliberate orientation marks; flipping a face can place otherwise accurate machining on the wrong side. Keep setup references in the cut list notes and use a sample or first article before machining all cabinet sides.
Use the back as a designed component
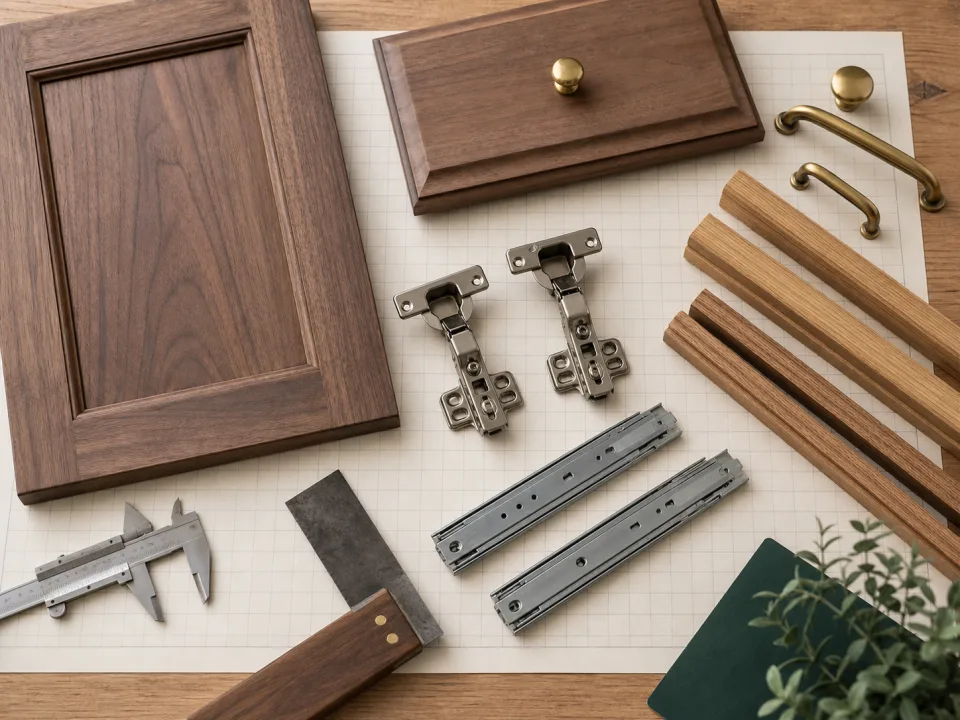
A back can help hold the box square only when its dimensions and engagement match the carcass. Calculate the back from the same design chain as the sides and decks, then dry-fit it before glue or permanent fasteners. If installing the back changes the diagonals, follow the back-racking diagnostic instead of assuming the panel will pull every error straight.
Measure more than the diagonals
Equal diagonals indicate a rectangular outline when opposite sides are equal, but they do not prove every panel is flat, every joint is seated, or the cabinet is free of twist. Check face alignment, corner seating, depth at both sides, and the opening where doors or drawers will run. A cabinet can measure correctly on one face and still rock or reveal twist at the other.
Create a release gate
Before batch cutting, verify one cabinet's finished dimensions, panel equality, joinery location, dry-fit diagonals, back fit, and hardware opening. Record the accepted measurements and apply them only to cabinets with the same construction. Use the base cabinet example as an input model, then use cabinet-box troubleshooting if the first article fails.
When to move from learning to planning
Reading is useful when you are choosing a method, but the project becomes real when dimensions, quantities, material costs, and waste are entered into a tool. If the article describes the problem you are facing, the next step is to test your own numbers. Start with the tools hub, choose the calculator that matches the material, and compare the result before buying stock. For plywood and cabinet projects, move the final plan into CutList so the layout can be saved, reopened, exported, and used at the saw.
Recommended next step
If you only need a quick estimate, open the related browser calculator and run the first pass. If the plywood or cabinet job has many parts, expensive material, or changing measurements, use CutList as the saved project workspace after reviewing the browser result. That creates a clear path from learning the method to checking the layout, preserving revisions, and carrying a cutting sequence to the shop.
Move from reading to a checked plan
Apply cabinet box squareness checks before cutting to a saved project
Test the method with your own dimensions first. Use CutList when the reviewed plywood plan needs saved revisions, offline access, a cutting sequence, or a Pro PDF handoff.
- Free basic layouts
- No login
- No cloud upload
- Works offline
 On a computer? Scan with your iPhone or iPad.