WoodCutTool Learn
Drawer Slide Clearance to Cut List Workflow
Drawer-box width should come from the measured opening and the selected slide specification, not from a generic subtraction remembered from another project. Slide type, model, mounting method, side thickness, joinery, bottom construction, inset conditions, and cabinet squareness all affect the released parts. A written workflow makes those dependencies visible.
Target keywords
Start with hardware and the real opening
Obtain the exact slide instructions before calculating the box. Measure the clear opening at the front and farther inside, at the top and bottom, and use the limiting dimension after the cabinet is square. Record obstructions such as hinges, face-frame lips, doors, or fasteners. The drawer-slide glossary clarifies the relationship between the box and its moving hardware.
Calculate the finished outside box
Apply the manufacturer-defined total clearance to the measured opening and state whether the result is the finished outside drawer-box width. Establish box height from the opening, slide placement, contents, and required vertical clearance. Establish depth from the usable cabinet interior and permitted slide length. Keep the decorative front as a separate component because overlay or inset reveals do not normally size the functional box in the same way.
Translate the box into individual parts
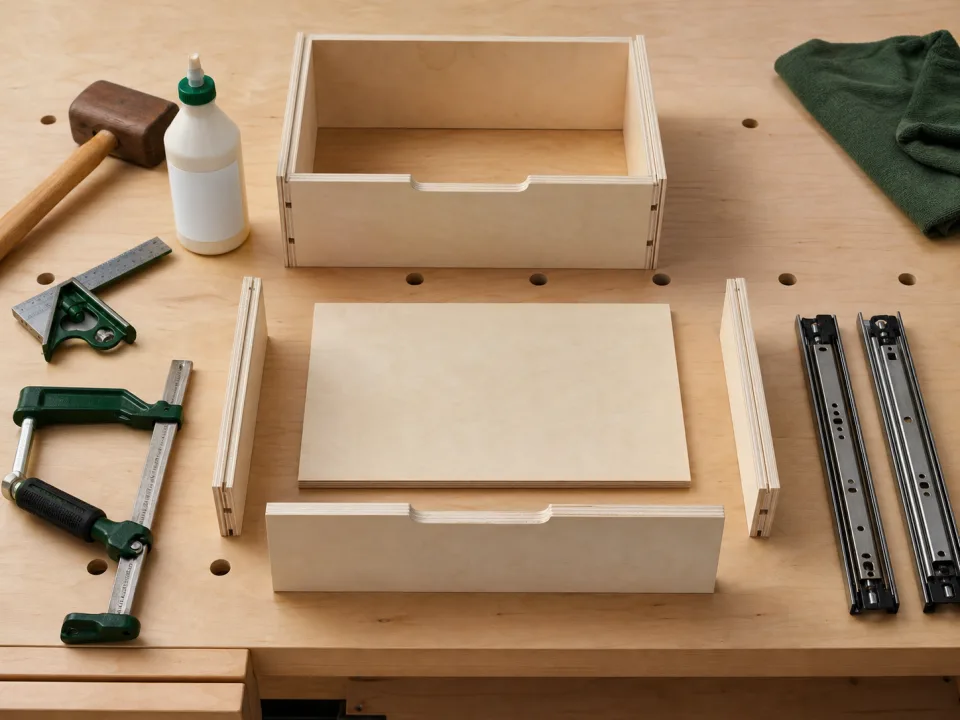
Choose the joint before calculating front and back lengths. Parts that fit between the sides use a different formula from joints that overlap or interlock. Record bottom groove depth, setback, and panel engagement before sizing the bottom. Use the drawer-box template to list sides, fronts, backs, bottoms, quantities, material thicknesses, and grain rules without combining unlike parts.
Build and test one first article
Cut one complete drawer from the released setup, dry-fit it, compare diagonals, install the slides, and test full travel in the actual opening. Do not release a repeated batch until the box moves without binding and the intended front can be aligned. If it is tight, use the drawer-box diagnostic to distinguish width, square, slide position, and hardware problems.
Multiply only after verification
Once the test drawer passes, propagate the verified dimensions to openings that are actually equal. Label every part by cabinet and drawer position so a corrected top drawer is not mixed into a lower batch. The small-parts drawer cabinet example shows how a complete rectangular parts input can be published and checked before sheet layout.
When to move from learning to planning
Reading is useful when you are choosing a method, but the project becomes real when dimensions, quantities, material costs, and waste are entered into a tool. If the article describes the problem you are facing, the next step is to test your own numbers. Start with the tools hub, choose the calculator that matches the material, and compare the result before buying stock. For plywood and cabinet projects, move the final plan into CutList so the layout can be saved, reopened, exported, and used at the saw.
Recommended next step
If you only need a quick estimate, open the related browser calculator and run the first pass. If the plywood or cabinet job has many parts, expensive material, or changing measurements, use CutList as the saved project workspace after reviewing the browser result. That creates a clear path from learning the method to checking the layout, preserving revisions, and carrying a cutting sequence to the shop.
Move from reading to a checked plan
Apply drawer slide clearance to cut list workflow to a saved project
Test the method with your own dimensions first. Use CutList when the reviewed plywood plan needs saved revisions, offline access, a cutting sequence, or a Pro PDF handoff.
- Free basic layouts
- No login
- No cloud upload
- Works offline
 On a computer? Scan with your iPhone or iPad.