WoodCutTool Learn
Cut List Closeout and As-Built Record
Project closeout turns the production record into a reliable as-built reference. It captures what was actually made and installed, which material and hardware were used, what changed, which parts were remade, what offcuts remain, and where the final files live. A closeout record supports repairs, repeat orders, estimates, and future revisions without pretending the first cut list stayed unchanged. Assign a retention location and owner so the accepted package remains findable after temporary shop copies are removed.
Target keywords
Identify the final accepted revision
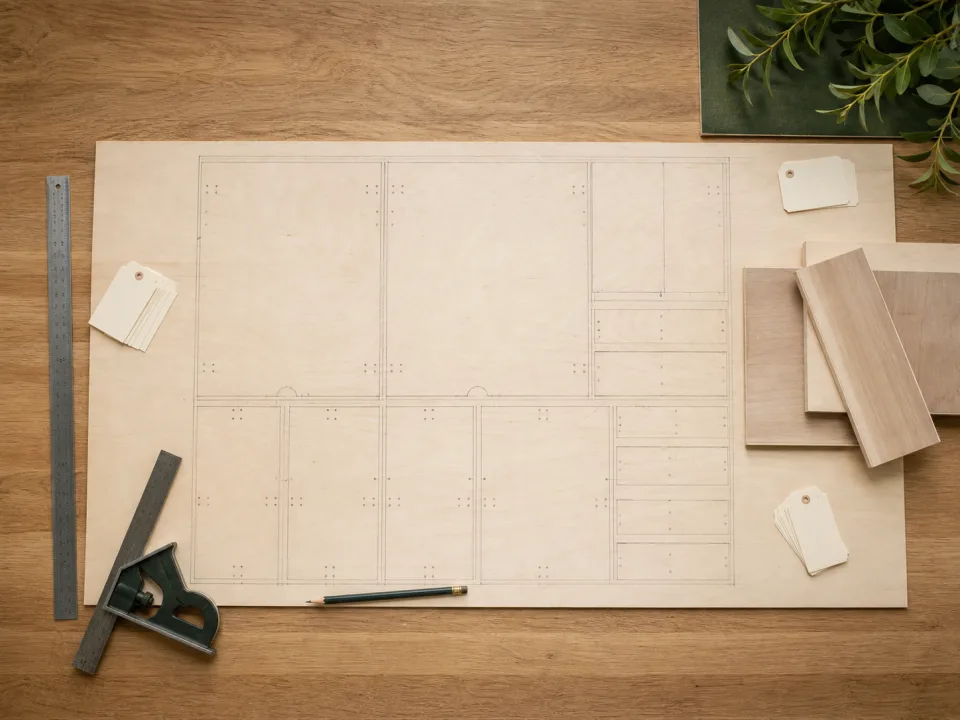
Confirm which drawings, cut list, layouts, hardware schedules, finish records, and installation notes describe the completed work. Mark superseded issues as obsolete without deleting their history. Reconcile late field adjustments and approved substitutions so the final record does not point to dimensions that were changed during installation.
Reconcile parts and material
Compare released quantities with parts made, remade, omitted, reused, and installed. Record the actual material products, batches, thickness observations, finish, and hardware. Explain major purchase-to-layout differences and keep incomplete or rejected parts out of the accepted list.
Update labels and service information
Ensure installed cabinets or products can be related to room, assembly, and part records where future service requires it. Preserve manufacturer information for hardware and components without exposing private customer data. Store photos or notes that clarify hidden cleats, utilities, removable panels, or access points when authorized and useful.
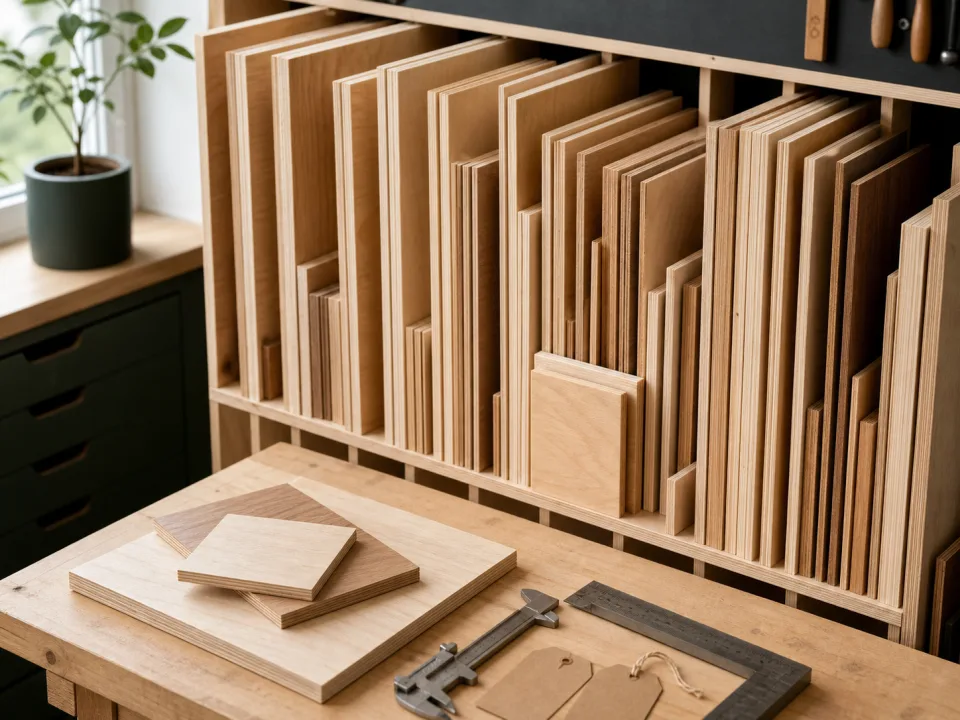
Close the offcut inventory
Measure and label useful remnants with material code, actual size, face and grain condition, source project, and storage location. Remove consumed or damaged records. If the inventory is unreliable, use offcut-inventory troubleshooting before promising a remnant to the next project. The offcut definition keeps reusable stock distinct from unplanned scrap.
Archive and learn
Save the final export, editable source, change log, disposition records, purchase reconciliation, and closeout summary under a stable project identifier. Verify that the archive can be reopened and that external references still point to retained files. Record reusable lessons such as a corrected formula, supplier variation, first-article result, or installation boundary. Feed those lessons into templates and checklists rather than copying project-specific dimensions into the next job.
When to move from learning to planning
Reading is useful when you are choosing a method, but the project becomes real when dimensions, quantities, material costs, and waste are entered into a tool. If the article describes the problem you are facing, the next step is to test your own numbers. Start with the tools hub, choose the calculator that matches the material, and compare the result before buying stock. For plywood and cabinet projects, move the final plan into CutList so the layout can be saved, reopened, exported, and used at the saw.
Recommended next step
If you only need a quick estimate, open the related browser calculator and run the first pass. If the plywood or cabinet job has many parts, expensive material, or changing measurements, use CutList as the saved project workspace after reviewing the browser result. That creates a clear path from learning the method to checking the layout, preserving revisions, and carrying a cutting sequence to the shop.
Move from reading to a checked plan
Apply cut list closeout and as-built record to a saved project
Test the method with your own dimensions first. Use CutList when the reviewed plywood plan needs saved revisions, offline access, a cutting sequence, or a Pro PDF handoff.
- Free basic layouts
- No login
- No cloud upload
- Works offline
 On a computer? Scan with your iPhone or iPad.