WoodCutTool Learn
Part IDs and Labels for Shop Handoff
A part ID is the stable link between the design and the physical piece. A useful label tells the next person what the part is, where it belongs, which face and orientation matter, which material and revision apply, and what operation comes next. Labels should survive the workflow without damaging the finished surface or becoming ambiguous when parts share dimensions.
Target keywords
Design a stable ID structure
Use a project-specific pattern that can distinguish room or zone, cabinet or assembly, part role, and instance without encoding dimensions that may change. For example, an ID can remain stable when a shelf width is revised. Keep the human-readable name beside the code. Two rows must never share an ID; use the duplicate-ID diagnostic before export.
Put actionable fields on the label
Include part ID, short name, material code, quantity instance, revision, show face, grain arrow, edge treatment, and next operation when relevant. Avoid crowding the label with data no one uses at that station. The cut-list labeling guide provides the broader workflow; this handoff focuses on traceability across people and stations.
Transfer identity before separation
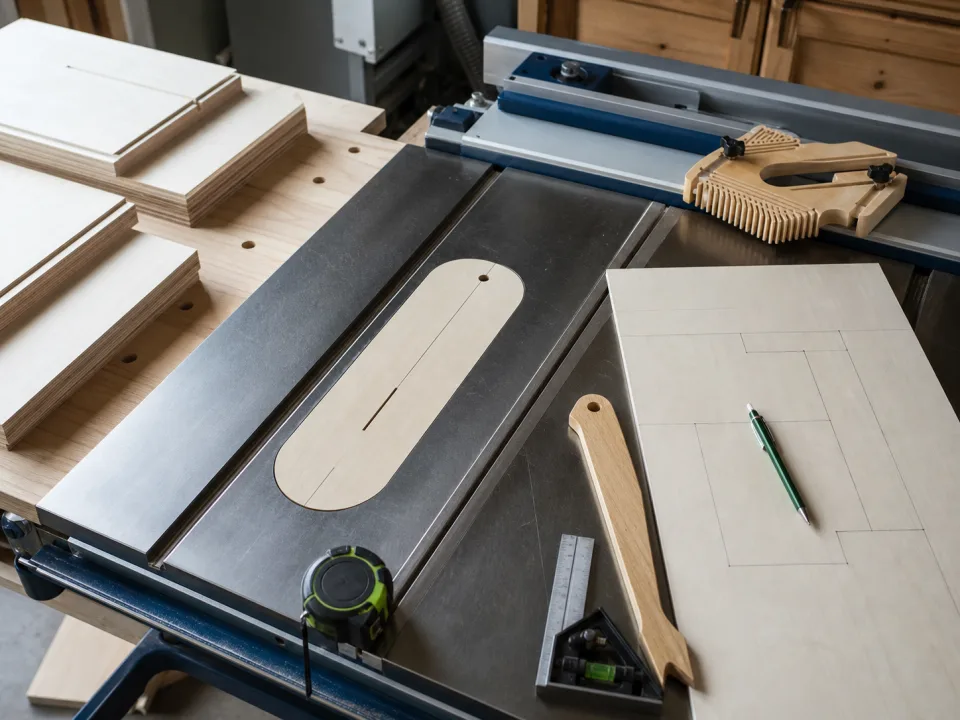
Mark or apply the label before a blank is separated from the sheet or repeated parts become visually identical. For matched doors or drawer fronts, retain sequence and sheet relationship. Use label locations and adhesives suitable for the material and finish, and test removability on a sample rather than assuming a generic sticker is safe.
Create station handoffs
At cutting, the label confirms dimensions and reference orientation. At machining, it controls face and hardware pattern. At edge treatment, it identifies exposed edges. At assembly, it maps the part to the cabinet or product. At packing and installation, it connects the physical item to room and position. Each station should record exceptions against the same part ID.
Audit labels before shipping
Compare physical parts with the latest cut list and packing list. Resolve missing, damaged, duplicate, or obsolete labels before the project leaves the shop. If labels do not match parts, use label troubleshooting and trace the revision, source sheet, and rework history rather than relabeling from memory.
When to move from learning to planning
Reading is useful when you are choosing a method, but the project becomes real when dimensions, quantities, material costs, and waste are entered into a tool. If the article describes the problem you are facing, the next step is to test your own numbers. Start with the tools hub, choose the calculator that matches the material, and compare the result before buying stock. For plywood and cabinet projects, move the final plan into CutList so the layout can be saved, reopened, exported, and used at the saw.
Recommended next step
If you only need a quick estimate, open the related browser calculator and run the first pass. If the plywood or cabinet job has many parts, expensive material, or changing measurements, use CutList as the saved project workspace after reviewing the browser result. That creates a clear path from learning the method to checking the layout, preserving revisions, and carrying a cutting sequence to the shop.
Move from reading to a checked plan
Apply part ids and labels for shop handoff to a saved project
Test the method with your own dimensions first. Use CutList when the reviewed plywood plan needs saved revisions, offline access, a cutting sequence, or a Pro PDF handoff.
- Free basic layouts
- No login
- No cloud upload
- Works offline
 On a computer? Scan with your iPhone or iPad.