WoodCutTool Learn
Plywood Breakdown Cut Sequence Planning
A nesting layout answers where rectangles fit; it does not automatically provide a safe or accurate saw sequence. Breakdown planning converts the sheet diagram into supported first cuts, manageable blanks, preserved references, grouped parts, and final-sizing operations. The sequence should be reviewed against the real workspace and equipment before a sheet is moved.
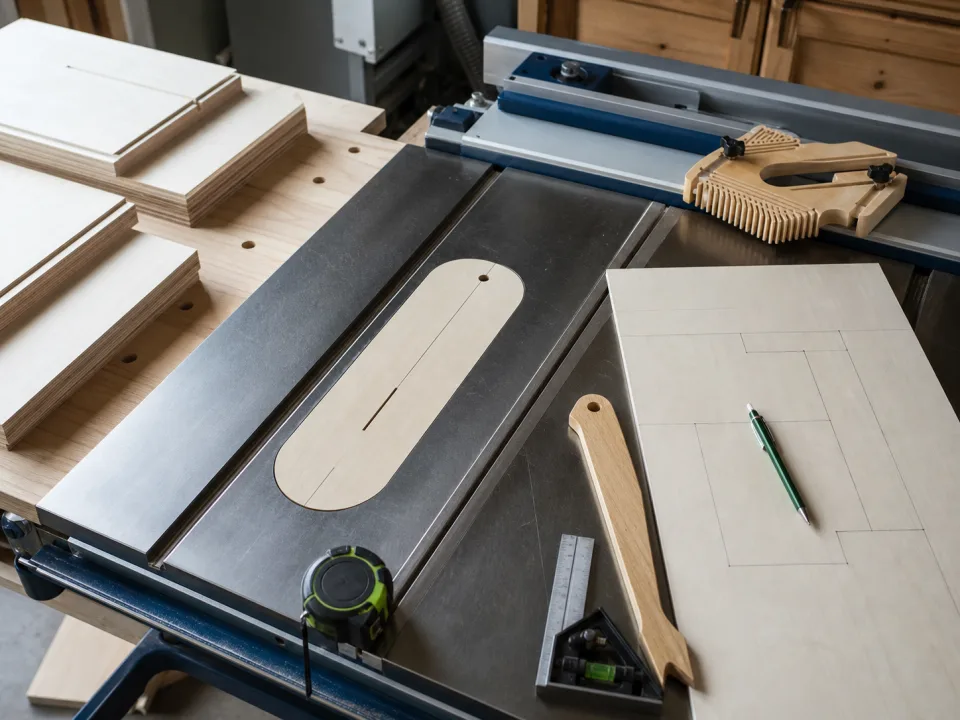
Target keywords
Identify the handling boundary
Record sheet size and weight from the actual product information, available support, workspace, helpers, and the tool manufacturer's operating requirements. Decide how the sheet can be staged and supported without relying on an unstable or improvised setup. If the modeled sheet cannot be handled through the intended path, revise the stock format or breakdown method before optimizing finer cuts.
Separate rough breakdown from final sizing
Choose first cuts that create manageable blanks while preserving enough trim or reference material for final size. Mark which edges are rough and which are finished. A common-line assumption or zero-margin placement can make a diagram appear efficient while leaving no recovery space. The rough-cut and final-cut definitions keep those stages explicit.
Protect large and high-risk parts
Locate parts that dominate sheet geometry, require a clean visible face, or would be expensive to remake. Plan their reference edges, grain, show face, support, and first separation before filling the sequence with small parts. If the first cut leaves a narrow unusable strip or blocks later pieces, use the first-cut diagnostic and compare an alternate partition of the sheet.
Group repeated operations
After stable blanks are created, group parts that share width, length, material, grain, or machining setup. Use a verified stop or fence only after a first-article check. Transfer labels before parts become visually similar. The practical sequence may accept a little more movement or waste to reduce setup changes, fragile strips, or the chance of mixing material groups.
Annotate the layout for the shop
Add numbered stages, reference arrows, rough-versus-final edges, part IDs, and hold points to the exported plan. Review it with the person doing the work and change the sequence when the actual tool path differs from the digital assumption. Use CutList for the saved layout and the project benchmark only as material evidence, not as machine instructions.
When to move from learning to planning
Reading is useful when you are choosing a method, but the project becomes real when dimensions, quantities, material costs, and waste are entered into a tool. If the article describes the problem you are facing, the next step is to test your own numbers. Start with the tools hub, choose the calculator that matches the material, and compare the result before buying stock. For plywood and cabinet projects, move the final plan into CutList so the layout can be saved, reopened, exported, and used at the saw.
Recommended next step
If you only need a quick estimate, open the related browser calculator and run the first pass. If the plywood or cabinet job has many parts, expensive material, or changing measurements, use CutList as the saved project workspace after reviewing the browser result. That creates a clear path from learning the method to checking the layout, preserving revisions, and carrying a cutting sequence to the shop.
Move from reading to a checked plan
Apply plywood breakdown cut sequence planning to a saved project
Test the method with your own dimensions first. Use CutList when the reviewed plywood plan needs saved revisions, offline access, a cutting sequence, or a Pro PDF handoff.
- Free basic layouts
- No login
- No cloud upload
- Works offline
 On a computer? Scan with your iPhone or iPad.