WoodCutTool Learn
How Much Edge Trim Allowance Does Plywood Need?
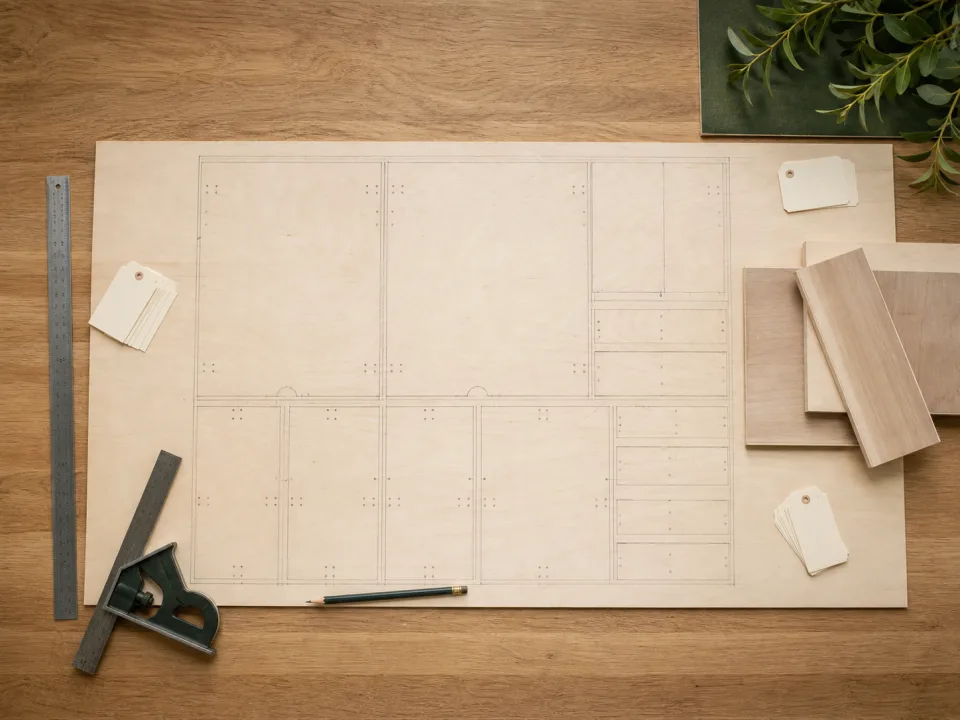
Plywood edge-trim allowance is the strip you reserve around a nominal sheet before placing finished parts. There is no universal number: a clean factory panel may need little or no trim, while chipped veneer, handling damage, an out-of-square edge, or a finish requirement can consume much more. The correct allowance comes from inspecting and measuring the actual sheet, then entering its usable rectangle instead of assuming the nominal label is all available.
Target keywords
Separate nominal size from usable size
A sheet sold as 48 × 96 inches describes a nominal format, not a promise that every edge belongs in a finished part. Measure length and width at more than one point, check both diagonals if squareness matters, and mark defects that extend beyond a simple perimeter strip. If you reserve one-half inch on every edge, the planning rectangle becomes 47 × 95 inches. Enter those usable dimensions in the plywood cut calculator rather than adding trim mentally after a layout is generated.
What the trim benchmark isolates
WoodCutTool's 360-run edge-trim matrix tested 36 project parts lists with per-edge margins of 0, 1/8, 1/4, 1/2, and 1 inch, in both rotation modes. The experiment reduces every sheet edge by the declared margin while holding parts and kerf constant. It demonstrates a threshold effect: many layouts keep the same sheet count as usable space shrinks, but they lose placement flexibility before a project finally needs another sheet.
Choose allowance from the cutting method
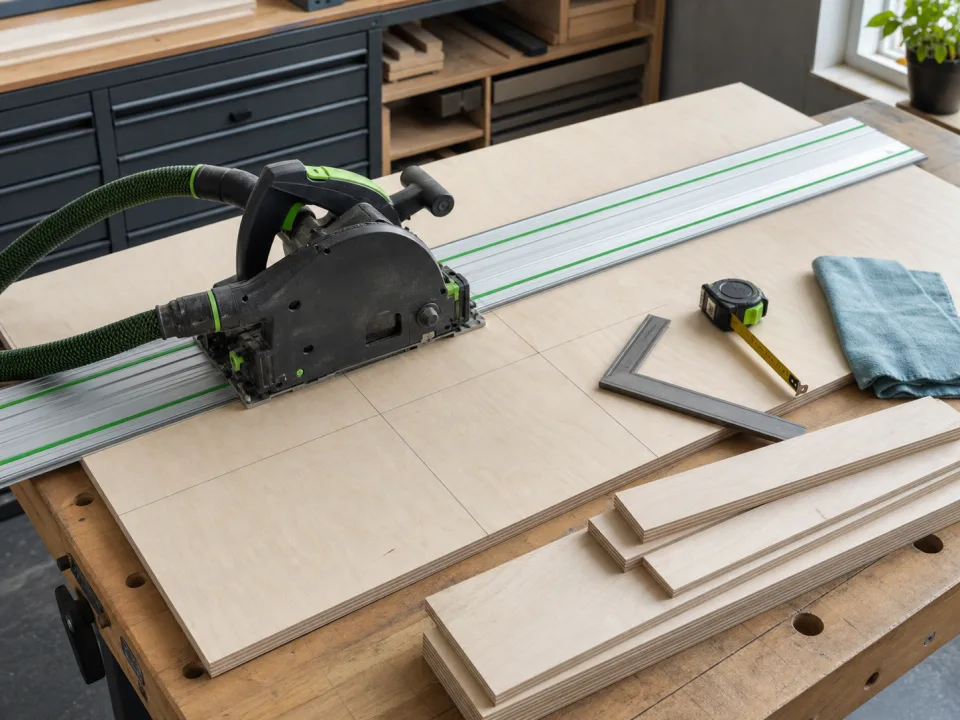
A track saw can establish a clean reference edge with a controlled first cut, while a table-saw workflow may begin by rough-breaking the sheet into manageable panels. The allowance must cover the material actually removed by that process, including the blade path. If the first cut rides inside a damaged band, measure from the new reference edge. Do not count the same saw kerf twice: once as perimeter trim and again as spacing between finished parts.
Match the allowance to face quality
Paint-grade shop fixtures may tolerate a clean factory edge that a clear-finished cabinet end cannot use. Inspect both faces for veneer splits, dents, delamination, corner damage, and patches. A defect in the middle of a sheet is not solved by a uniform trim margin; treat it as an exclusion zone or place a hidden part around it. For matched doors and fronts, face selection and grain continuity may cost more material than edge trimming, so lock those requirements before optimizing.
Use scenario planning on tight layouts
If a project fits only when the allowance is zero, the material plan has no resilience. Run at least a measured case and a conservative case. For example, compare the actual clean rectangle with another layout that reserves an extra quarter inch per edge. If the second case adds a sheet, inspect which part crosses the threshold and decide whether a supplier check, dimension change, or spare panel is cheaper than discovering the shortage during breakdown.
Record the assumption on the cut list
A layout is auditable only when another person can see the stock dimensions it used. Put nominal size, measured usable size, perimeter trim, kerf, and any excluded defects in the project notes. In CutList, save the scenario with the final sheet dimensions rather than reusing an optimistic default. At the saw, mark the reference face and edge, make the trim cut, verify the new rectangle, and only then follow the remaining cut sequence.
When to move from learning to planning
Reading is useful when you are choosing a method, but the project becomes real when dimensions, quantities, material costs, and waste are entered into a tool. If the article describes the problem you are facing, the next step is to test your own numbers. Start with the tools hub, choose the calculator that matches the material, and compare the result before buying stock. For plywood and cabinet projects, move the final plan into CutList so the layout can be saved, reopened, exported, and used at the saw.
Recommended next step
If you only need a quick estimate, open the related browser calculator and run the first pass. If the plywood or cabinet job has many parts, expensive material, or changing measurements, use CutList as the saved project workspace after reviewing the browser result. That creates a clear path from learning the method to checking the layout, preserving revisions, and carrying a cutting sequence to the shop.
Move from reading to a checked plan
Apply how much edge trim allowance does plywood need? to a saved project
Test the method with your own dimensions first. Use CutList when the reviewed plywood plan needs saved revisions, offline access, a cutting sequence, or a Pro PDF handoff.
- Free basic layouts
- No login
- No cloud upload
- Works offline
 On a computer? Scan with your iPhone or iPad.