WoodCutTool Learn
Prefinished Plywood Cut List Workflow
Prefinished plywood shifts part of the finishing work to the panel supplier, but it increases the cost of face damage, wrong-side machining, mismatched orientation, and label residue. The cut list needs more than dimensions: it should identify show faces, finish condition, grain, protected handling, edge treatment, and which operations happen before protective material is removed. A receiving inspection should also define which surface defects are accepted before the sheet enters production.
Target keywords
Define faces and orientation
Mark the primary face, secondary face, grain direction, and any finish-direction requirement for every visible part. Use a consistent symbol that survives export and shop printing. The prefinished plywood definition helps distinguish a factory-finished panel from material that will be finished after assembly. Lock part rotation when turning the rectangle would reverse an intended visual relationship.
Plan clean breakdown and machining
Inspect the actual finish and test the blade, scoring method, support, feed, and protective layers on a representative offcut. Keep finished faces supported and free from debris. Plan drilling, dados, rabbets, and hardware holes from labeled references so a mirrored part is not machined from the wrong side. Stop if the test shows chipping, delamination, heat damage, or finish marking.

Keep edge treatment in the release
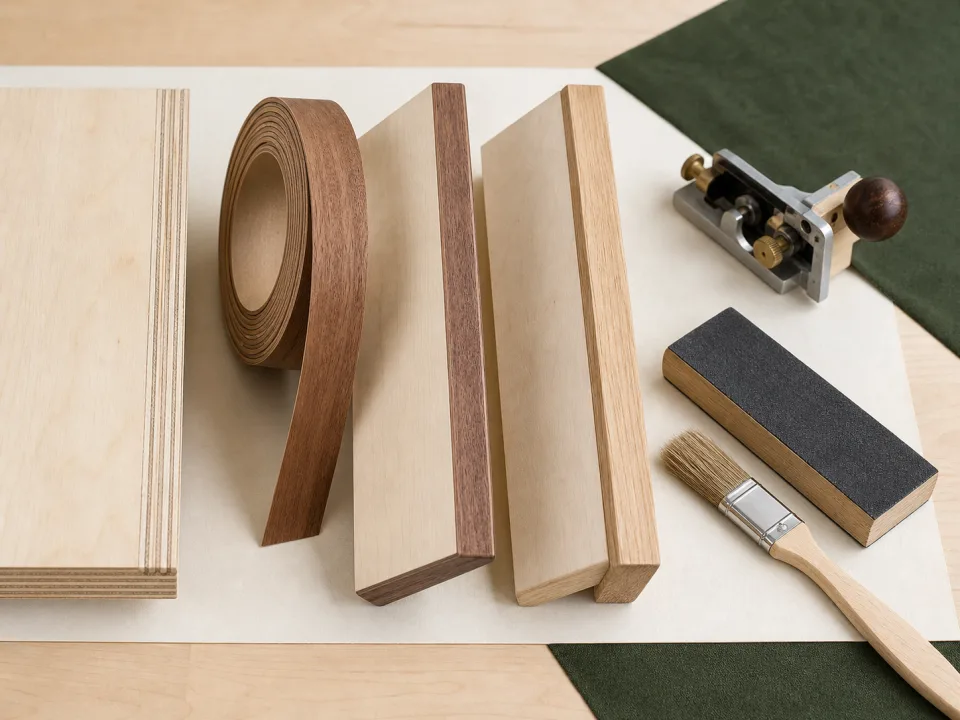
List which edges receive banding, solid lipping, a captured joint, or no treatment. Decide whether trimming occurs before or after banding and how that changes finished dimensions. Separate banding material and color from the sheet material group. A face-perfect part can still be unusable when its exposed edge or banding orientation is wrong.
Protect parts through the whole workflow
Create clean staging surfaces, separate finished parts with suitable protection, and place labels where they can be removed without damaging the finish. If scratching occurs, use the prefinished-plywood diagnostic to trace handling, debris, stacking, machine tables, and transport before cutting replacements.
Plan replacement without hiding it
Reserve a documented replacement strategy for high-risk visible panels instead of assuming the last irregular offcut can remake them. Review the final sheet for reusable rectangles that preserve face quality and orientation. Use the finished-end template and CutList to keep face rules and replacements attached to the project.
When to move from learning to planning
Reading is useful when you are choosing a method, but the project becomes real when dimensions, quantities, material costs, and waste are entered into a tool. If the article describes the problem you are facing, the next step is to test your own numbers. Start with the tools hub, choose the calculator that matches the material, and compare the result before buying stock. For plywood and cabinet projects, move the final plan into CutList so the layout can be saved, reopened, exported, and used at the saw.
Recommended next step
If you only need a quick estimate, open the related browser calculator and run the first pass. If the plywood or cabinet job has many parts, expensive material, or changing measurements, use CutList as the saved project workspace after reviewing the browser result. That creates a clear path from learning the method to checking the layout, preserving revisions, and carrying a cutting sequence to the shop.
Move from reading to a checked plan
Apply prefinished plywood cut list workflow to a saved project
Test the method with your own dimensions first. Use CutList when the reviewed plywood plan needs saved revisions, offline access, a cutting sequence, or a Pro PDF handoff.
- Free basic layouts
- No login
- No cloud upload
- Works offline
 On a computer? Scan with your iPhone or iPad.