WoodCutTool Learn
Sheet-Good Edge Quality Acceptance Guide
Edge quality should be judged against the part's next operation and finished use, not a vague expectation that every cut looks perfect. A hidden edge entering a dado, a banded cabinet edge, a prefinished exposed edge, and an MDF paint edge have different risks. An acceptance guide records the material, face, edge treatment, visible zone, sample setup, and defect boundary so one operator is not passing what another operator would remake.
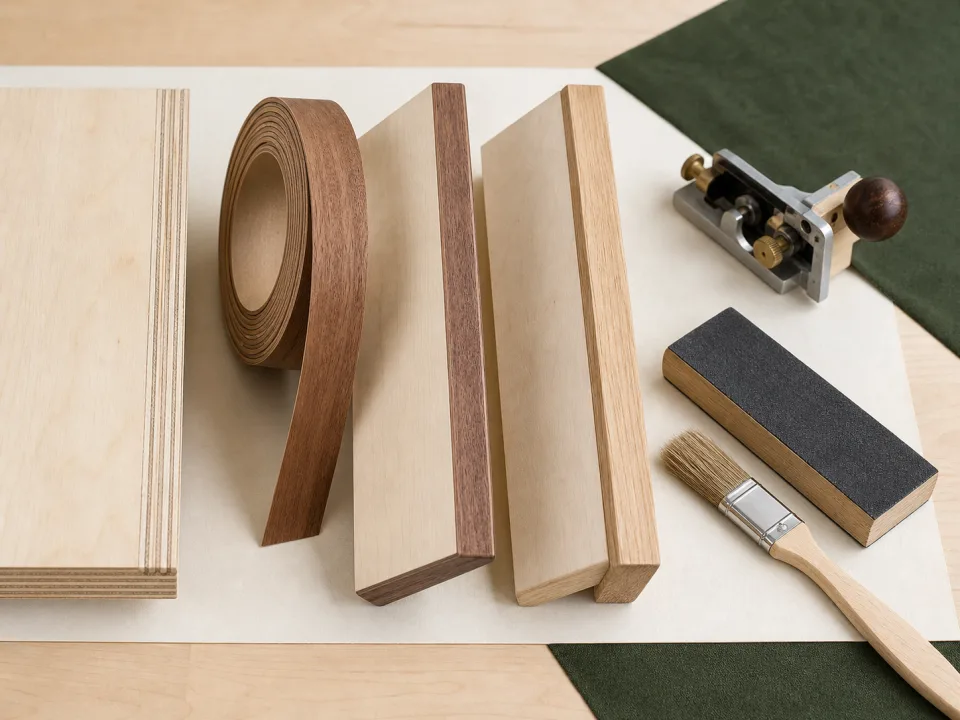
Target keywords
Classify the edge by finished use
Mark each edge as hidden, captured, banded, solid-lipped, painted, laminated, or exposed. Identify show faces and the direction from which the installed edge will be viewed. A small exit chip may disappear under a confirmed banding allowance, while the same defect on a clear-finished exposed veneer can be unacceptable. Keep this classification with the part ID and cut-list revision.
Create samples from the actual material
Test the approved blade, feed, support, scoring or sacrificial method, and cut direction on an offcut from the received sheet batch. Inspect both entry and exit faces because one can pass while the other fails. Record finish film, protective layer, actual thickness, core condition, and grain orientation. Do not qualify premium prefinished panels with a sample from unrelated construction plywood.
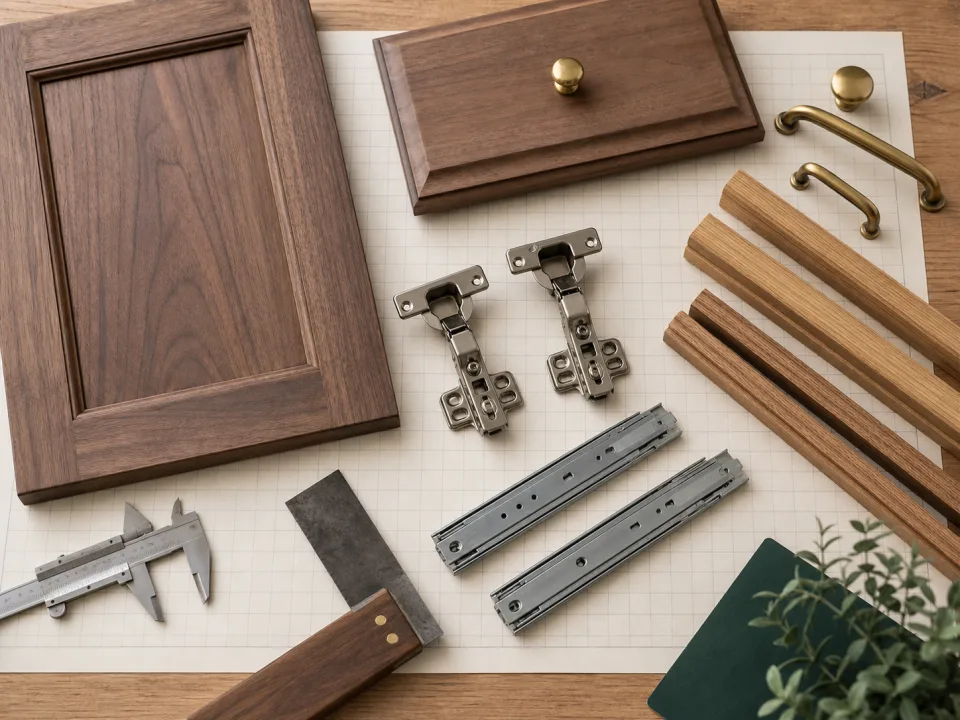
Define observable defect limits
Describe allowed chip size and frequency, tear-out, fuzzing, burning, delamination, core breakout, edge waviness, finish marking, and squareness in measurable or clearly photographed terms. Include the inspection light and viewing distance for appearance decisions. The prefinished plywood workflow explains why face protection and machining orientation belong in the same release.
Separate rework from remake
List the approved downstream process for each reworkable condition: edge trimming within allowance, banding, sanding for paint, or another verified repair. Rework must preserve final size, joint engagement, and face quality; it cannot consume a dimension that the design already needs. If edge trimming makes parts undersized, follow the edge-trim diagnostic instead of repeatedly cleaning the edge.
Inspect at controlled intervals
Approve the first sample, the first production part, and interval parts whenever material, blade, setup, or support changes. Keep defective pieces physically separated and label the decision. The first-article release checklist gives the larger production gate, while this guide supplies the edge-specific acceptance evidence.
Feed defects back into planning
Record which material and operation created rework or remakes, then include replacements in the current layout. Compare actual loss with the planned trim, kerf, and contingency rather than treating every rejected edge as anonymous waste. Use the wood waste calculator to price the loss and CutList to test whether retained offcuts can produce the replacement safely.
When to move from learning to planning
Reading is useful when you are choosing a method, but the project becomes real when dimensions, quantities, material costs, and waste are entered into a tool. If the article describes the problem you are facing, the next step is to test your own numbers. Start with the tools hub, choose the calculator that matches the material, and compare the result before buying stock. For plywood and cabinet projects, move the final plan into CutList so the layout can be saved, reopened, exported, and used at the saw.
Recommended next step
If you only need a quick estimate, open the related browser calculator and run the first pass. If the plywood or cabinet job has many parts, expensive material, or changing measurements, use CutList as the saved project workspace after reviewing the browser result. That creates a clear path from learning the method to checking the layout, preserving revisions, and carrying a cutting sequence to the shop.
Move from reading to a checked plan
Apply sheet-good edge quality acceptance guide to a saved project
Test the method with your own dimensions first. Use CutList when the reviewed plywood plan needs saved revisions, offline access, a cutting sequence, or a Pro PDF handoff.
- Free basic layouts
- No login
- No cloud upload
- Works offline
 On a computer? Scan with your iPhone or iPad.